DEPRECATION NOTICE: please note that Docebo will deprecate the Blog App in the near future. Keep checking our Product Updates page to be aligned with our latest news.
Docebo’s Blog app makes your platform more interactive, collaborate, and social. By activating this app, your users will have a personal area on their platforms to post and share their thoughts with others, who can then comment and provide their feedback. Blogs can be published in specific courses or in the user’s personal blog space on the platform.
Activating the Blog App
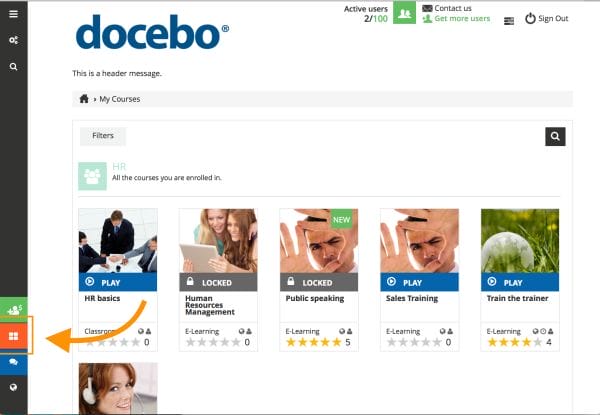
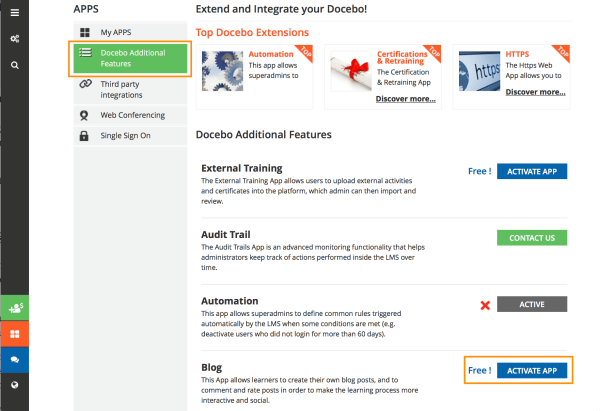
Begin by logging into your Docebo platform as the Superadmin, then select the Apps & Features button from the left sidebar. Then, select the Additional Features tab.
On this page, find the app, then press the Activate button in the app’s row. In the pop up box, read the description, then press Install Now. The app is now activated in your platform.
Managing the Blog App
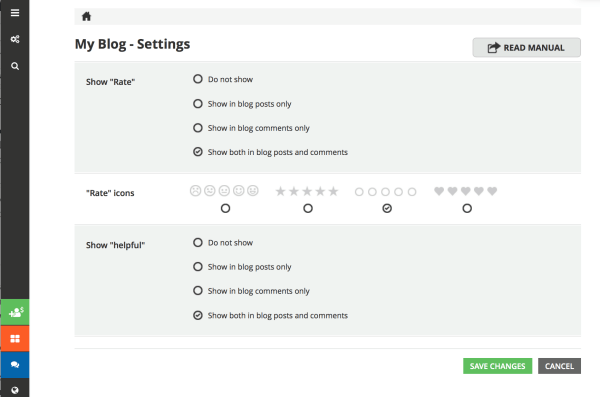
Now you can start to configure your app. Access the Admin menu by scrolling your mouse over the gears icon in the left sidebar. Then, find the Blog section, and press the Manage subitem. On the main management page for this app, you will see three sections: Show Rate, Rate Icons, and Show Helpful. Let’s take a look at each section.
In the first section, flag if and how you want to allow your users rate blog posts and comments by other learners. You can choose not to allow users to rate anything. Alternatively, you can flag the option to allow them to rate only blogs, only comments, or both blogs and comments.
In the second section, Rate Icons, choose which icons will be used as the rating system: faces, hearts, stars, or circles.
Finally, in the third section, flag if and how you want to allow your users rate blog posts and comments by other learners as helpful for them. You can choose not to allow users to rate anything. Alternatively, you can flag the option to allow them to rate only blogs, only comments, or both blogs and comments.
Adding a Blog Within a Course
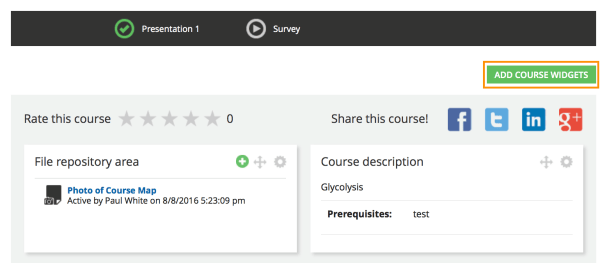
As Superadmin or Instructor, you can also activate a blog within to a specific course. Begin by accessing the course’s Training Materials page. On the bottom half of this page, select the Add Course Widgets button.
In the pop up box, select the the Blog item from the dropdown menu. Then, select whether you want to widget to be half-width or full-width on the platform’s interface. Then, press Save Changes.
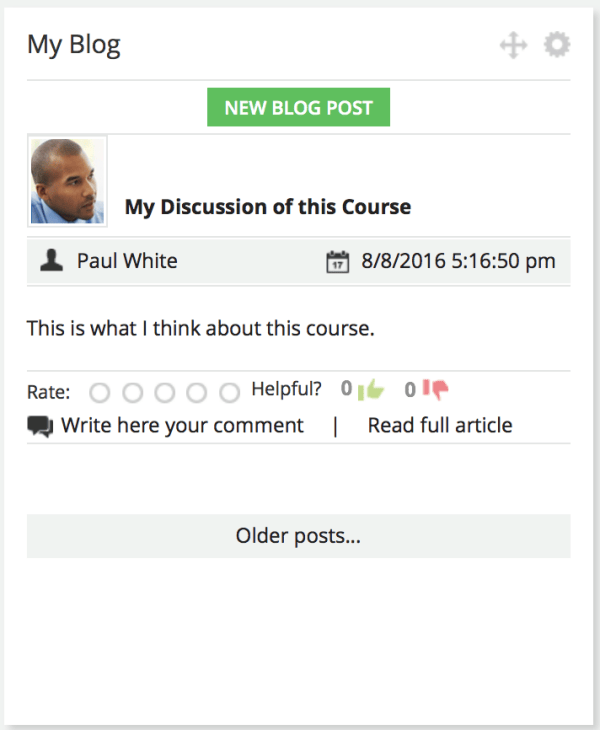
Now users post inside the course blog by selecting the Create New Post button. All of the posts published inside a course will be visible in the learners’ individual blogs and highlighted with a tag containing the name of the course in which the post is written.
To summarize: Users can post directly on their personal blogs, or on a course blog. Regardless, all articles written by the user will be collected on his or her own blog.
Users Posting on Their Own Blogs
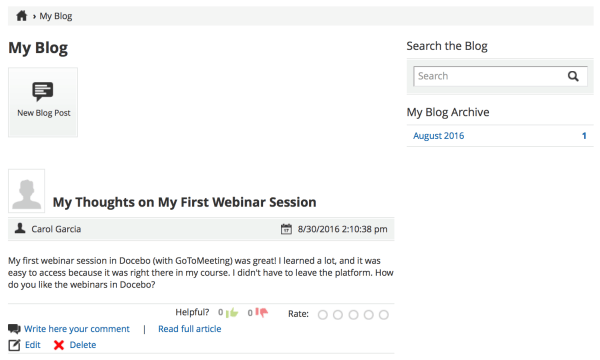
As previously written, every user has their own blog. To view a personal blog, a user must select the Menu icon from the sidebar and choose My Blog. This area is only visible to this user. To create a new post, he or she should press the New Blog Post button, add a title and text to the post, then press Publish to save the post. In the text editor the user can add text, images, videos, and links.
After publication, a post can be edited or deleted using the corresponding icon in the post’s area on the user’s platform. Please Note: A user can only edit or delete his or her own blog posts. Admins, Power Users, and Instructors cannot delete the blog post of learners.
How Can Users View Posts in Courses?
To be visible to others, a post must be published in a course through the Blog Widget. Any user who wants to make his or her post visible to others must first access the course in which they would like to publish a post. Please note that in order to access a course, the user must be enrolled in said course.
A user can only write a post within a course if the widget is activated by the Superadmin or Instructor. To write a post, the user should press the Create New Post button. Then, they can add a title and write their text. Once the post is complete, the user must Publish it to make the post visible to all of the learners within the course. Now, all of the learners enrolled in the course can comment on the post, set the tone using the likert scale, and define if the post was helpful or not.

