Last week, we hosted a live panel discussion on ‘MOOCs from Academia to Corporate’ – during that webinar we received an overwhelming number of requests to explain how to build MOOCs for corporations, and more specifically how to build MOOCs using the Docebo Learning Management System (LMS). Whilst the first question will be addressed in a follow up webinar on MOOCs early next year, we would like to address the more specific question of how to build MOOCs using the Docebo LMS in this blog post.
Incidentally, if you missed the ‘MOOCs from Academia to Corporate’ webinar and would like to see it, you can contact us to receive a link. Also check out the #MOOCSchat blog post.
Building MOOCs with Docebo
Academic institutions, cultural foundations, non-profit organizations and other businesses are now adopting MOOCs to help them achieve their goals. Thanks to the flexibility of cloud technology and an integrated ecosystem of add-on apps and cool features, the Docebo LMS is an effective solution to develop Massive Open Online Courses (MOOCs).
Start by defining your strategy
In the image below, you can see our six basic steps to building an effective strategy:
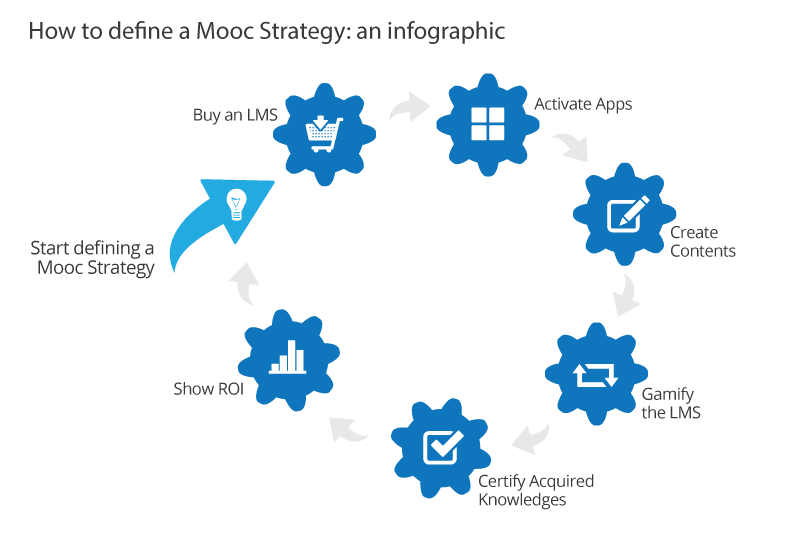
Get started
To try this out using Docebo, activate the Docebo free trial here, and then start customizing your system by activating these apps:
Once completed, follow our suggestions on how to make your LMS an open system, and then start creating content by adding videos and allowing learners to leave comments.
Engage your users by creating a gamification system inside your platform: learners will be motivated to complete as much content as possible in order to rise in rankings.
Create a template for the certificates that users can earn once they complete the required content.
Remember, the goal is to monetize your business! In order to do that, you should create a Business Intelligence System to measure the ROI of your platform.
The following simple steps allow you to create a complete and effective MOOCs program
How to manage free self-registration
To activate self-registration, select the Admin icon from the sidebar and choose the Advanced settings option. You will be redirected to the Advanced settings page, where you will select Self-registration from the menu on the left. Select Free self-registration and set the following options:
- Add a registrations and lost passwords email sender;
- Choose if you want to send a confirmation email to the users or not;
- Establish a limit for the expiration of the subscription request;
- Decide if first and last names are required, if the privacy policy is accepted, and if you would like to use an advanced registration form;
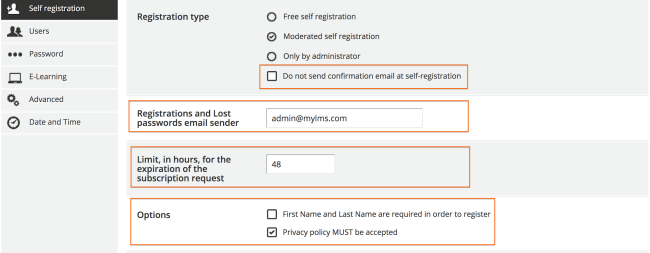
Once you have completed these options, click Save.
Let’s see how a user can register and access the platform:
Once on the login page, they will see the register button, shown as in the picture below.
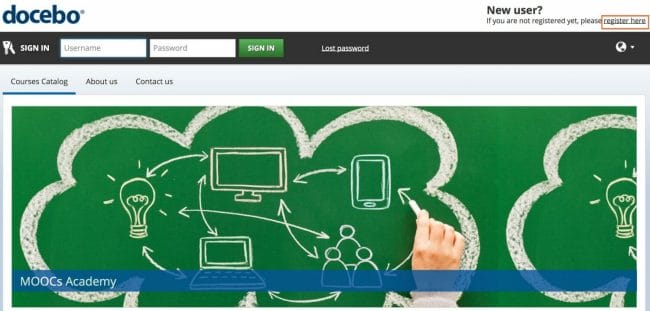
To register into Docebo, the user must fill in the form according to the settings you have selected.
Docebo also offers moderated self-registration if that is preferred!
How to create and add content
Docebo allows you to add new contents of any kind by structuring them into one (or more) root “courses” (i.e. baskets of raw contents).
The best strategy for a MOOC library is to create one course for each piece of raw content you wish to make available to your end users. Each user will be then allowed to structure his/her own learning path by selecting courses from the library according to his/her own specific training needs.
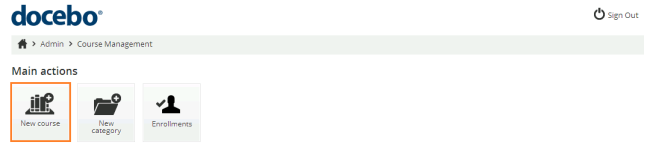
How to create a course
Docebo allows you to create, and categorize courses quickly and easily. By using a single interface, you can create the course, change the layout at any time, upload, manage contents, and much more!
Select the Admin icon from the main menu, and click Course from the E-Learning area.
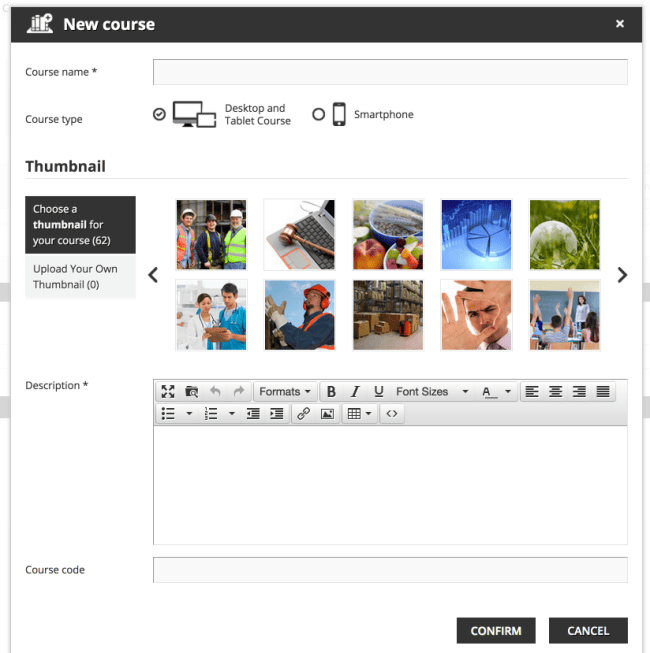
To begin, click the New Course tab.
Add the course name, and choose an image.
In order to turn your Docebo platform into a MOOCs system, make sure you provide a very clear description of the course when you are creating it so that users can decide if they are interested in the course or not. Please note that the description will be visible in the public catalog.
Once you are finished, click Confirm.
The course you have created will appear in the courses list.

From here, you are now able to manage it.
You can also set advanced options in the Docebo Course Management area, where you have an Advanced Settings section. There you can:
- Edit course details: change the language, associate a label to the course, and if necessary, assign a certain number of credits and a difficulty level.
- Set catalog options: decide who can see this course, choose a max subscription quota, if overbooking is allowed, add demo material, establish a subscription’s availability, and set the enrollment policy.
- Manage the E-commerce tool: decide if you would like to sell the course and establish its price. This tool is available only if you have activated the E-Commerce APP.
- Set time options: decide if the course will be visible always, or if it will be valid just for a determined number of days.
- Associate a certificate to the course
Once you have created your courses, you can start to add content; then create catalogs to maximize the ROI of your MOOCs. You can add certificates, gamification, and use sophisticated reporting to monitor the ROI of your MOOCs investment. By simply configuring the Reports option, a fully-fledged reporting section can be set up within minutes.
To read in further detail how to build MOOCs using the Docebo LMS, please consult the online manual.
|
Now you are ready to start your MOOC’s project using your Docebo LMS! If you’d like to test-drive Docebo for yourself, sign up for a free 14-day trial or contact one of our consultants directly! |